B2B marketers are going to have it tougher in 2024. A few of the most interesting developments will be Google’s sunset of third-party cookies, Yahoo’s plans to reduce email spam, and Apple iOS 17 blocking UTM tracking. But these aren’t things to panic about if you have the right strategies and tools in place to counteract all of that.
You need to get ahead of anything that’s being thrown your way and the way to do that is with website visitor data. We’ll talk about how you can use tools to not only find better leads, but also gain a deeper understanding of how these companies behave on your website.
Today, we’ll be showing you:
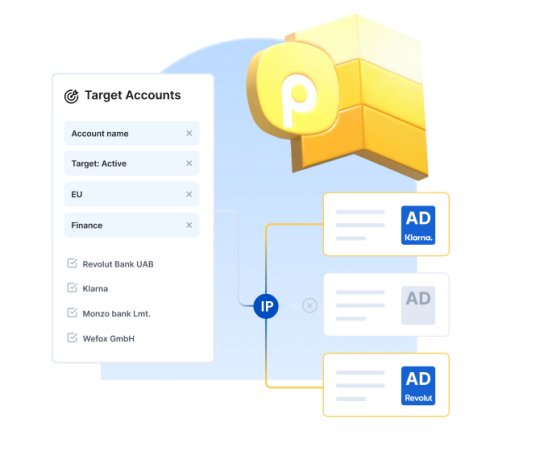
Dealfront’s Promote and how it can help you target specific companies’ IP addresses
And how Leadfeeder by Dealfront can show you the exact companies you want to target
Want to start being more effective and efficient with your Marketing efforts? Learn how to do more with your ad budget and stop wasting time and money on low-value impressions.
What you need to know about Leadfeeder Data
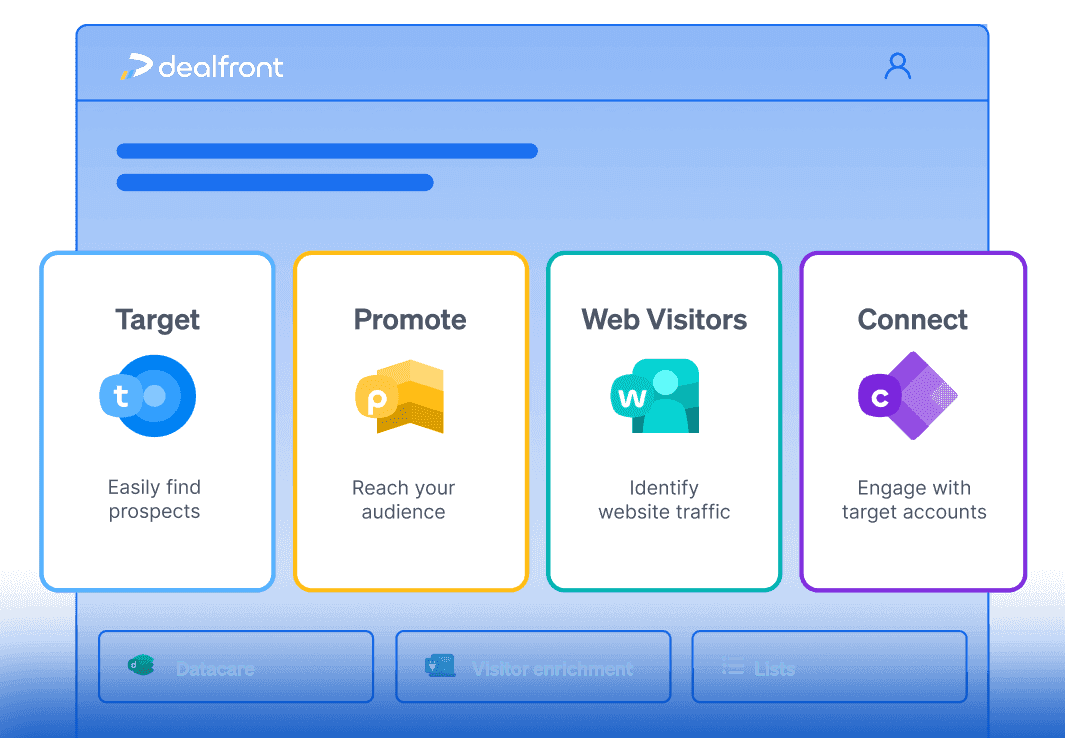
All successful targeting begins with the highest-quality data, otherwise, you’re just stumbling in the dark. This is where Dealfront comes in. The Dealfront platform is the only go-to-market platform built specifically for B2B companies who do business in Europe. Leadfeeder is a part of this platform and you can use it to identify which companies are visiting your website. Even better, you can see exactly what they’re doing once they’re there!
Once you have this deeper intel, you’ll be able to generate high-quality leads so you can reach out to sales-ready contacts to help them grow their business faster. When you add Dealfront to this mix, you’ll be able to extend this knowledge even further.
5 Key Benefits of Your Leadfeeder Data
Identify new sales leads
See intent from target accounts
Get notified of deal activity on your website
Reach out to key decision makers
Retarget your hot leads
Benefit 1: Identify new sales leads
Leadfeeder helps you to identify the names of otherwise anonymous companies visiting your website, and discover exactly what they’re looking for. You can further qualify the fit of your visitors using behavioral and firmographic filters. Now you have new prospects to follow up with! With a CRM integration you can also automatically push this new visit data, and add new companies to your system, for a seamless sales workflow.
Benefit 2: See intent from target accounts
Timing is critical when it comes to outreach. Reach out too early and you’ll be completely ignored, reach out too late and you’ve missed your opportunity. With Leadfeeder you can set up notifications and get alerts when target companies are visiting your website or performing a certain action. If you know which pages they’ve been viewing and what they’ve been doing, you can personalize your outreach at exactly the right time.
Benefit 3: Get notified of deal activity on your website
If you’ve integrated your CRM with Dealfront, your Leadfeeder data can help you to keep track of the activity of your open and lost deals. Seamless integration enables your sales team to be fully informed about what their open deals are looking at before reaching out. As an added bonus, you can also follow your lost deals, seeing if and when they return to your website - maybe that competitor they went with wasn’t such a good fit after all.
Benefit 4: Reach out to key decision makers
Use the Leadfeeder Contacts feature to explore the names and job titles of key stakeholders at your target companies. Once you’ve found the most likely decision makers, you can instantly reveal their accurate and compliant contact details, including emails and direct dials. It’s over to your sales team next to devise a solid outreach plan and start converting.
Benefit 5: Retarget your hot leads
Last but not least, how you can retarget using your Leadfeeder data with Promote. Once you have identified key companies of interest, why leave it all to sales and outreach? Retargeting helps you to give your prospects a little extra push in your direction, moving them further down the funnel. You already know they’ve visited your website, you know what they’ve done when they were there, so what do you want them to do next? Tell them with programmatic display advertising.
How to Integrate Your Leadfeeder Data with Promote
Promote lets you unlock the full potential of your B2B advertising efforts with highly IP targeted and personalized display ad campaigns. The tool helps you target multiple decision-makers at a company so you’re no longer limited by traditional remarketing by only targeting one user at a company.
If you’re a paying Dealfront customer then there’s no fee to use Promote, you only pay for your ad spend, making it easy to get started right away.
There are three main use cases of Promote, all of which involve using your Leadfeeder Data. Let’s take a look.
Top 3 Reasons to Use Promote to support your advertising efforts
Raise awareness amongst your ideal customer profile
Retarget companies instead of individuals
Automatically target open CRM deals
Raise awareness amongst your ideal customer profile
Your ideal customers are those that benefit the most from your product or service. An ideal customer profile (ICP) is a set of characteristics these ideal customers share. This includes the demographic information you need to look out for in potential sales leads, and behavioral markers, too.
Why pursuing companies that fit your ICP is a popular advertising tactic:
You can expect a quicker sales cycle and greater chance of success. Similar customers have gone through your sales process previously. In an ideal world, you’ll have refined and optimized this process. You understand this kind of customer and how you can help them.
If they're a good fit and you can build a strong relationship from day one, you can expect higher retention rates and advocacy from these customers.
Creating brand or product awareness campaigns targeted at your ICP helps to drive high-quality traffic to your website with less wasted ad spend.
You target companies in Promote through a list. There are three different ways to target a list in Promote:
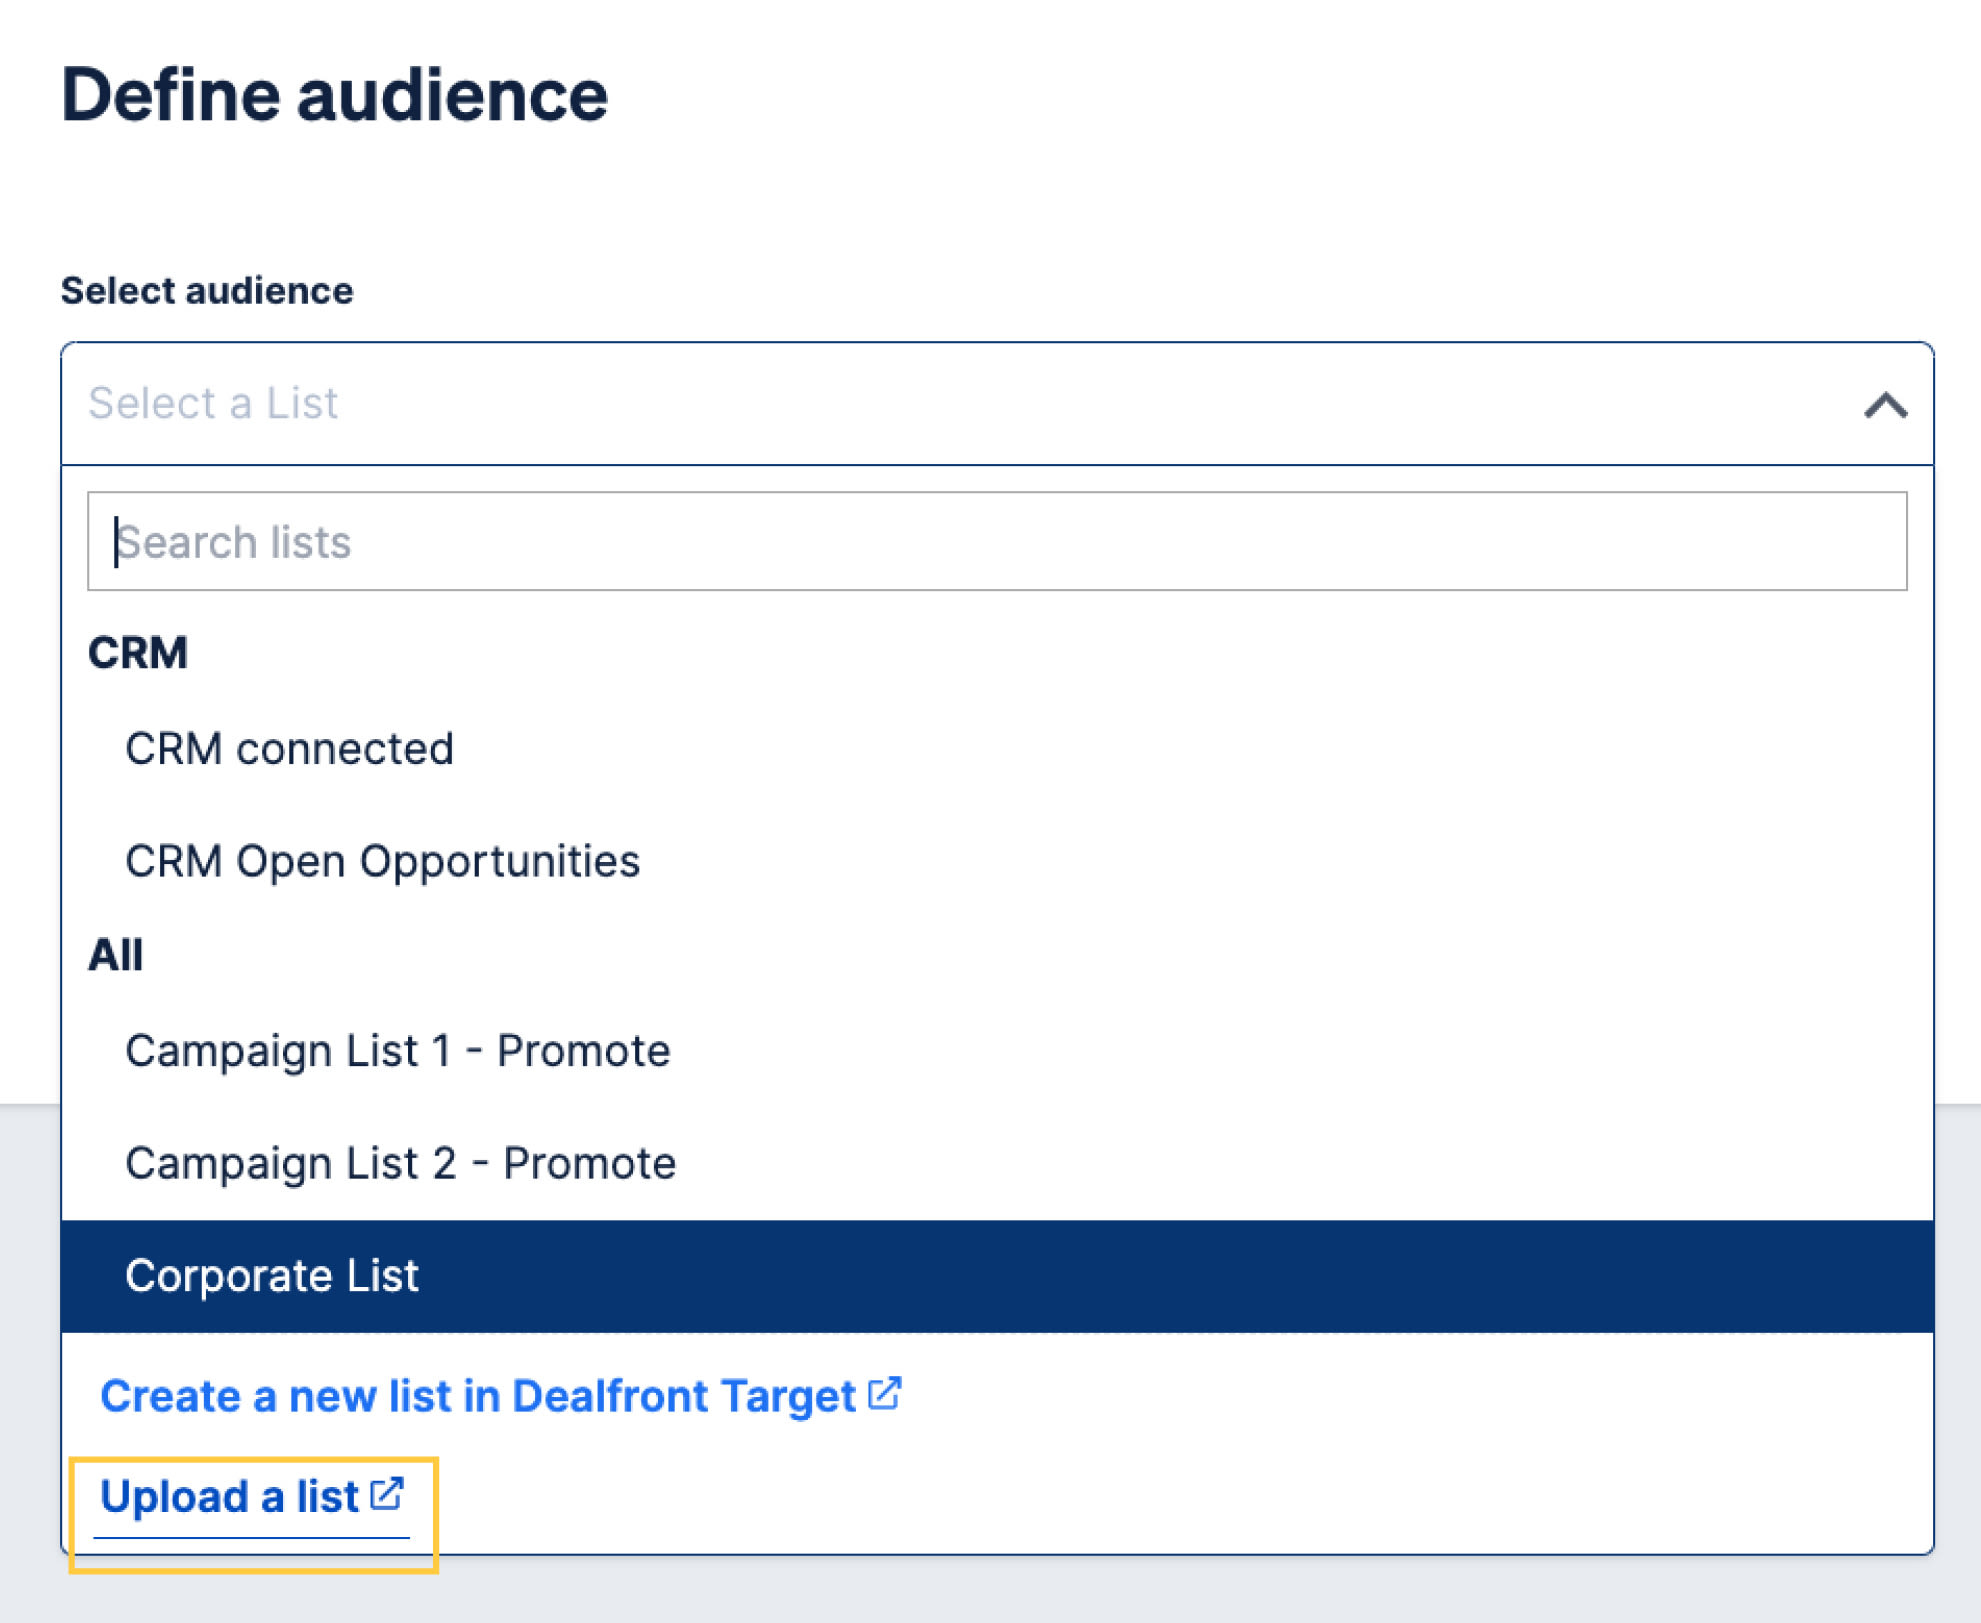
Upload an externally sourced list of company names You may already have an external target list, for example key prospects in your CRM or a wishlist of ideal companies. You can upload this to the Dealfront Lists tool in a few clicks and use this as your target audience list in Promote. You’ll need to prepare this as a 2-column CSV file of company names and their website addresses.
![How to upload an existing customer list in Promote]()
How to upload an existing customer list in Promote
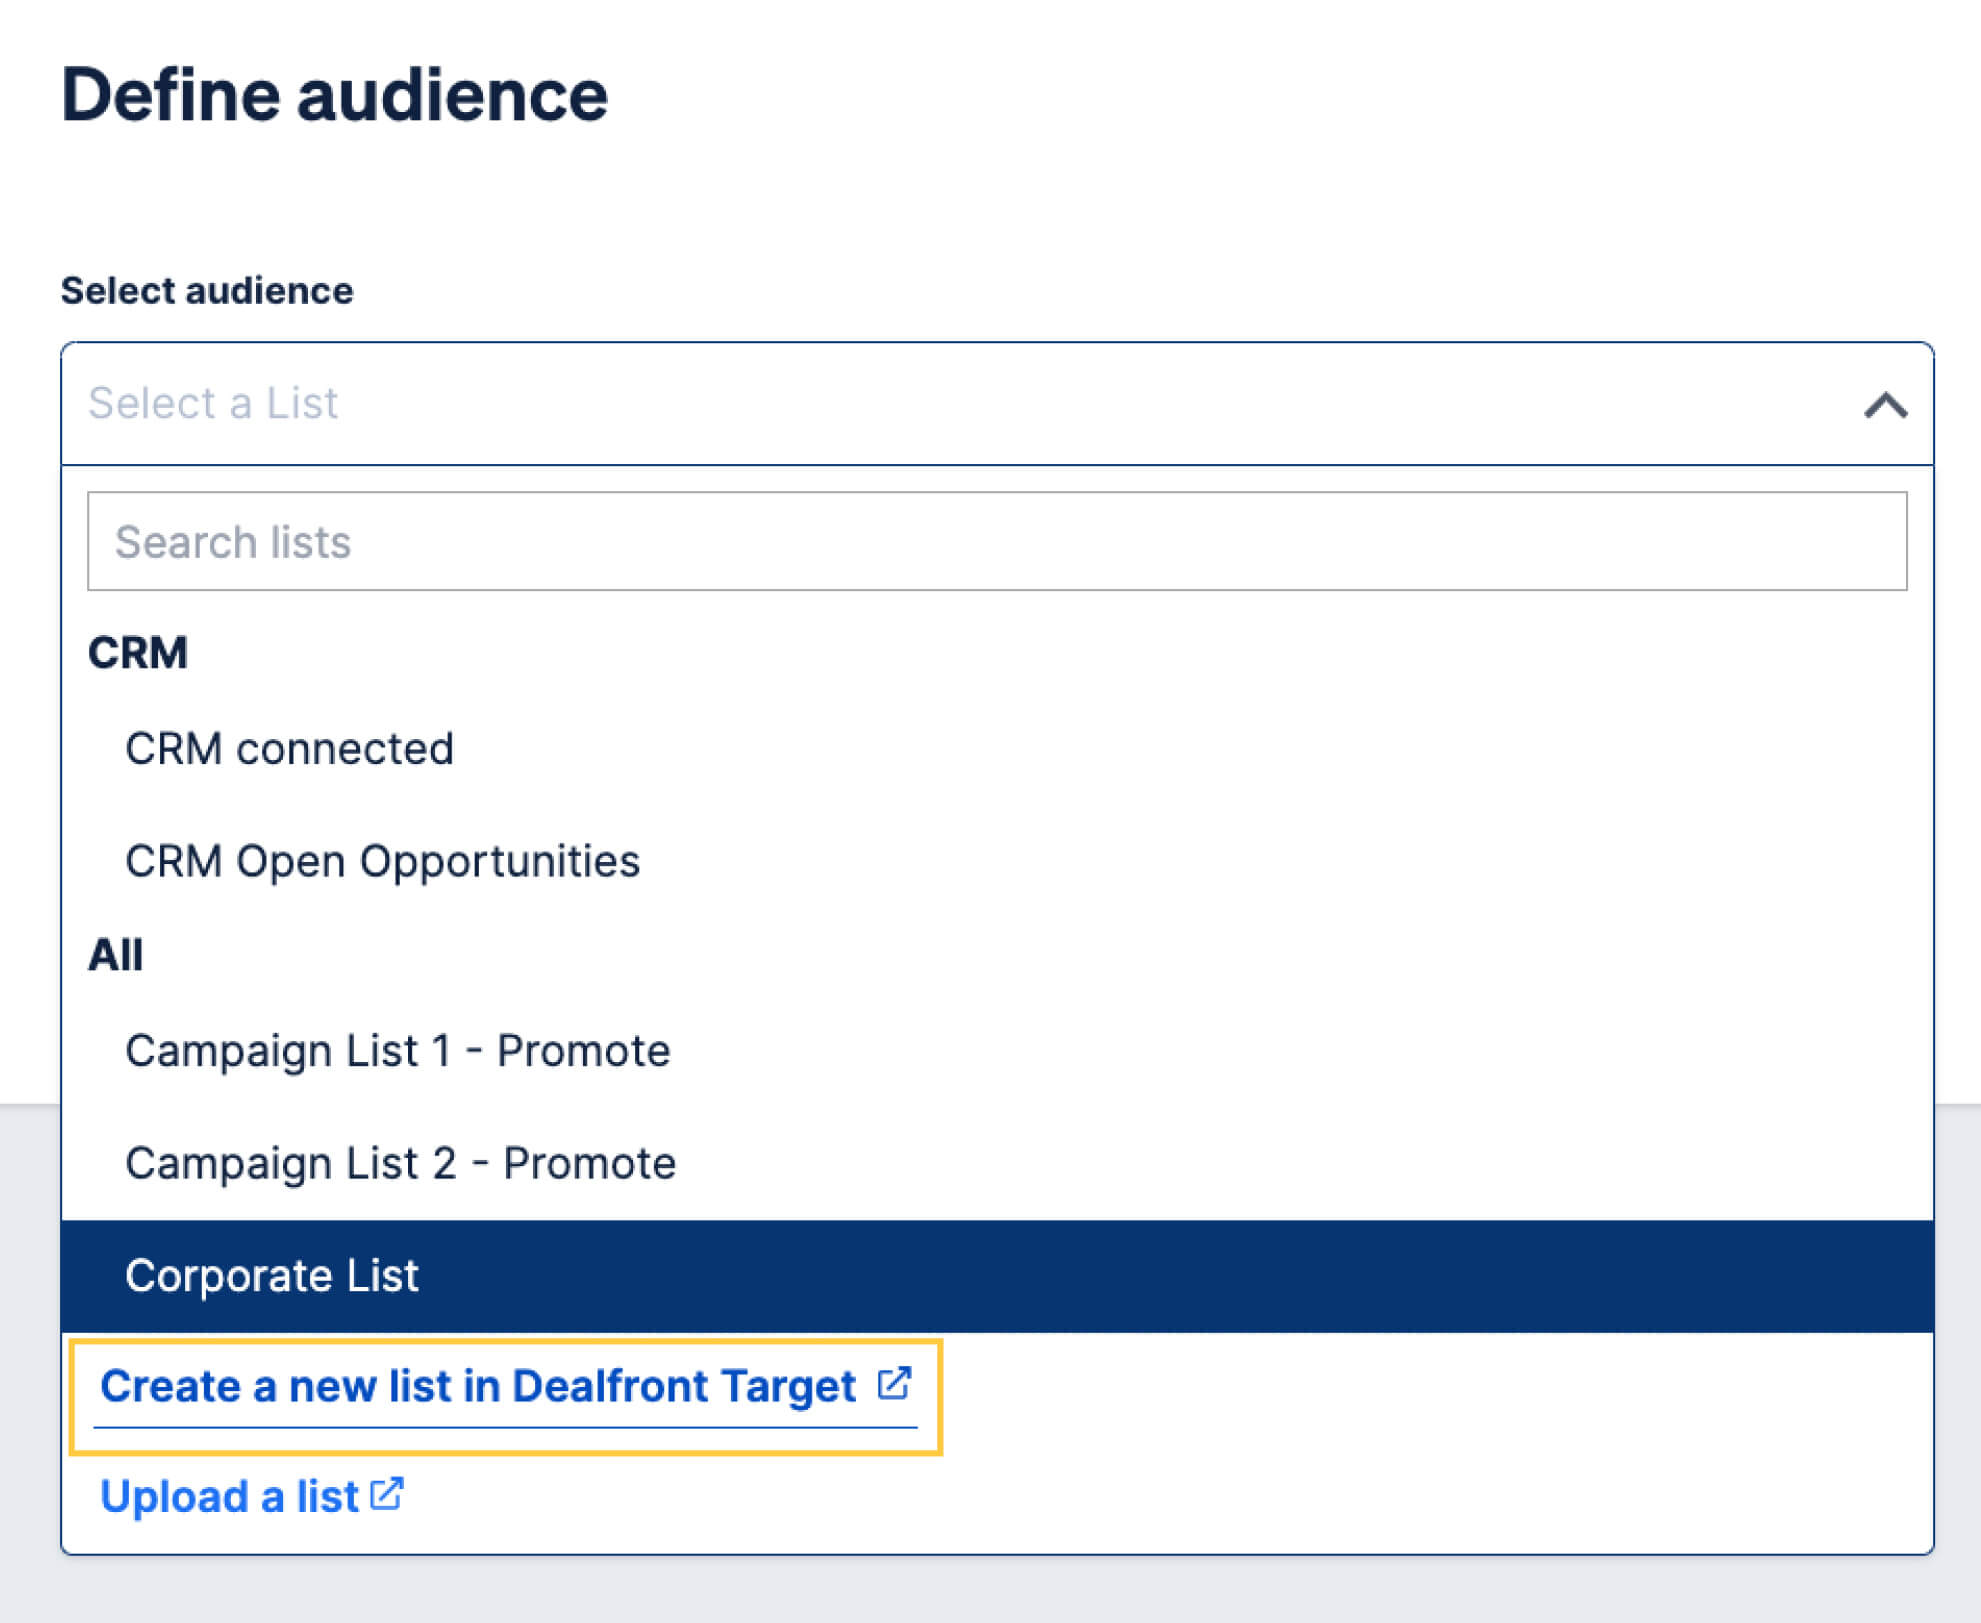
Use Target or Target Basic to create a new list of ideal companies You can use Dealfront’s Target database tool to find new companies you want to display your ads to. With your ICP in mind, the many available filters can help you to generate a specific target list. This list can then be saved in Dealfront and used as your target audience list in Promote.
![Screenshot of selecting a list this way in Promote]()
Select your list in Promote
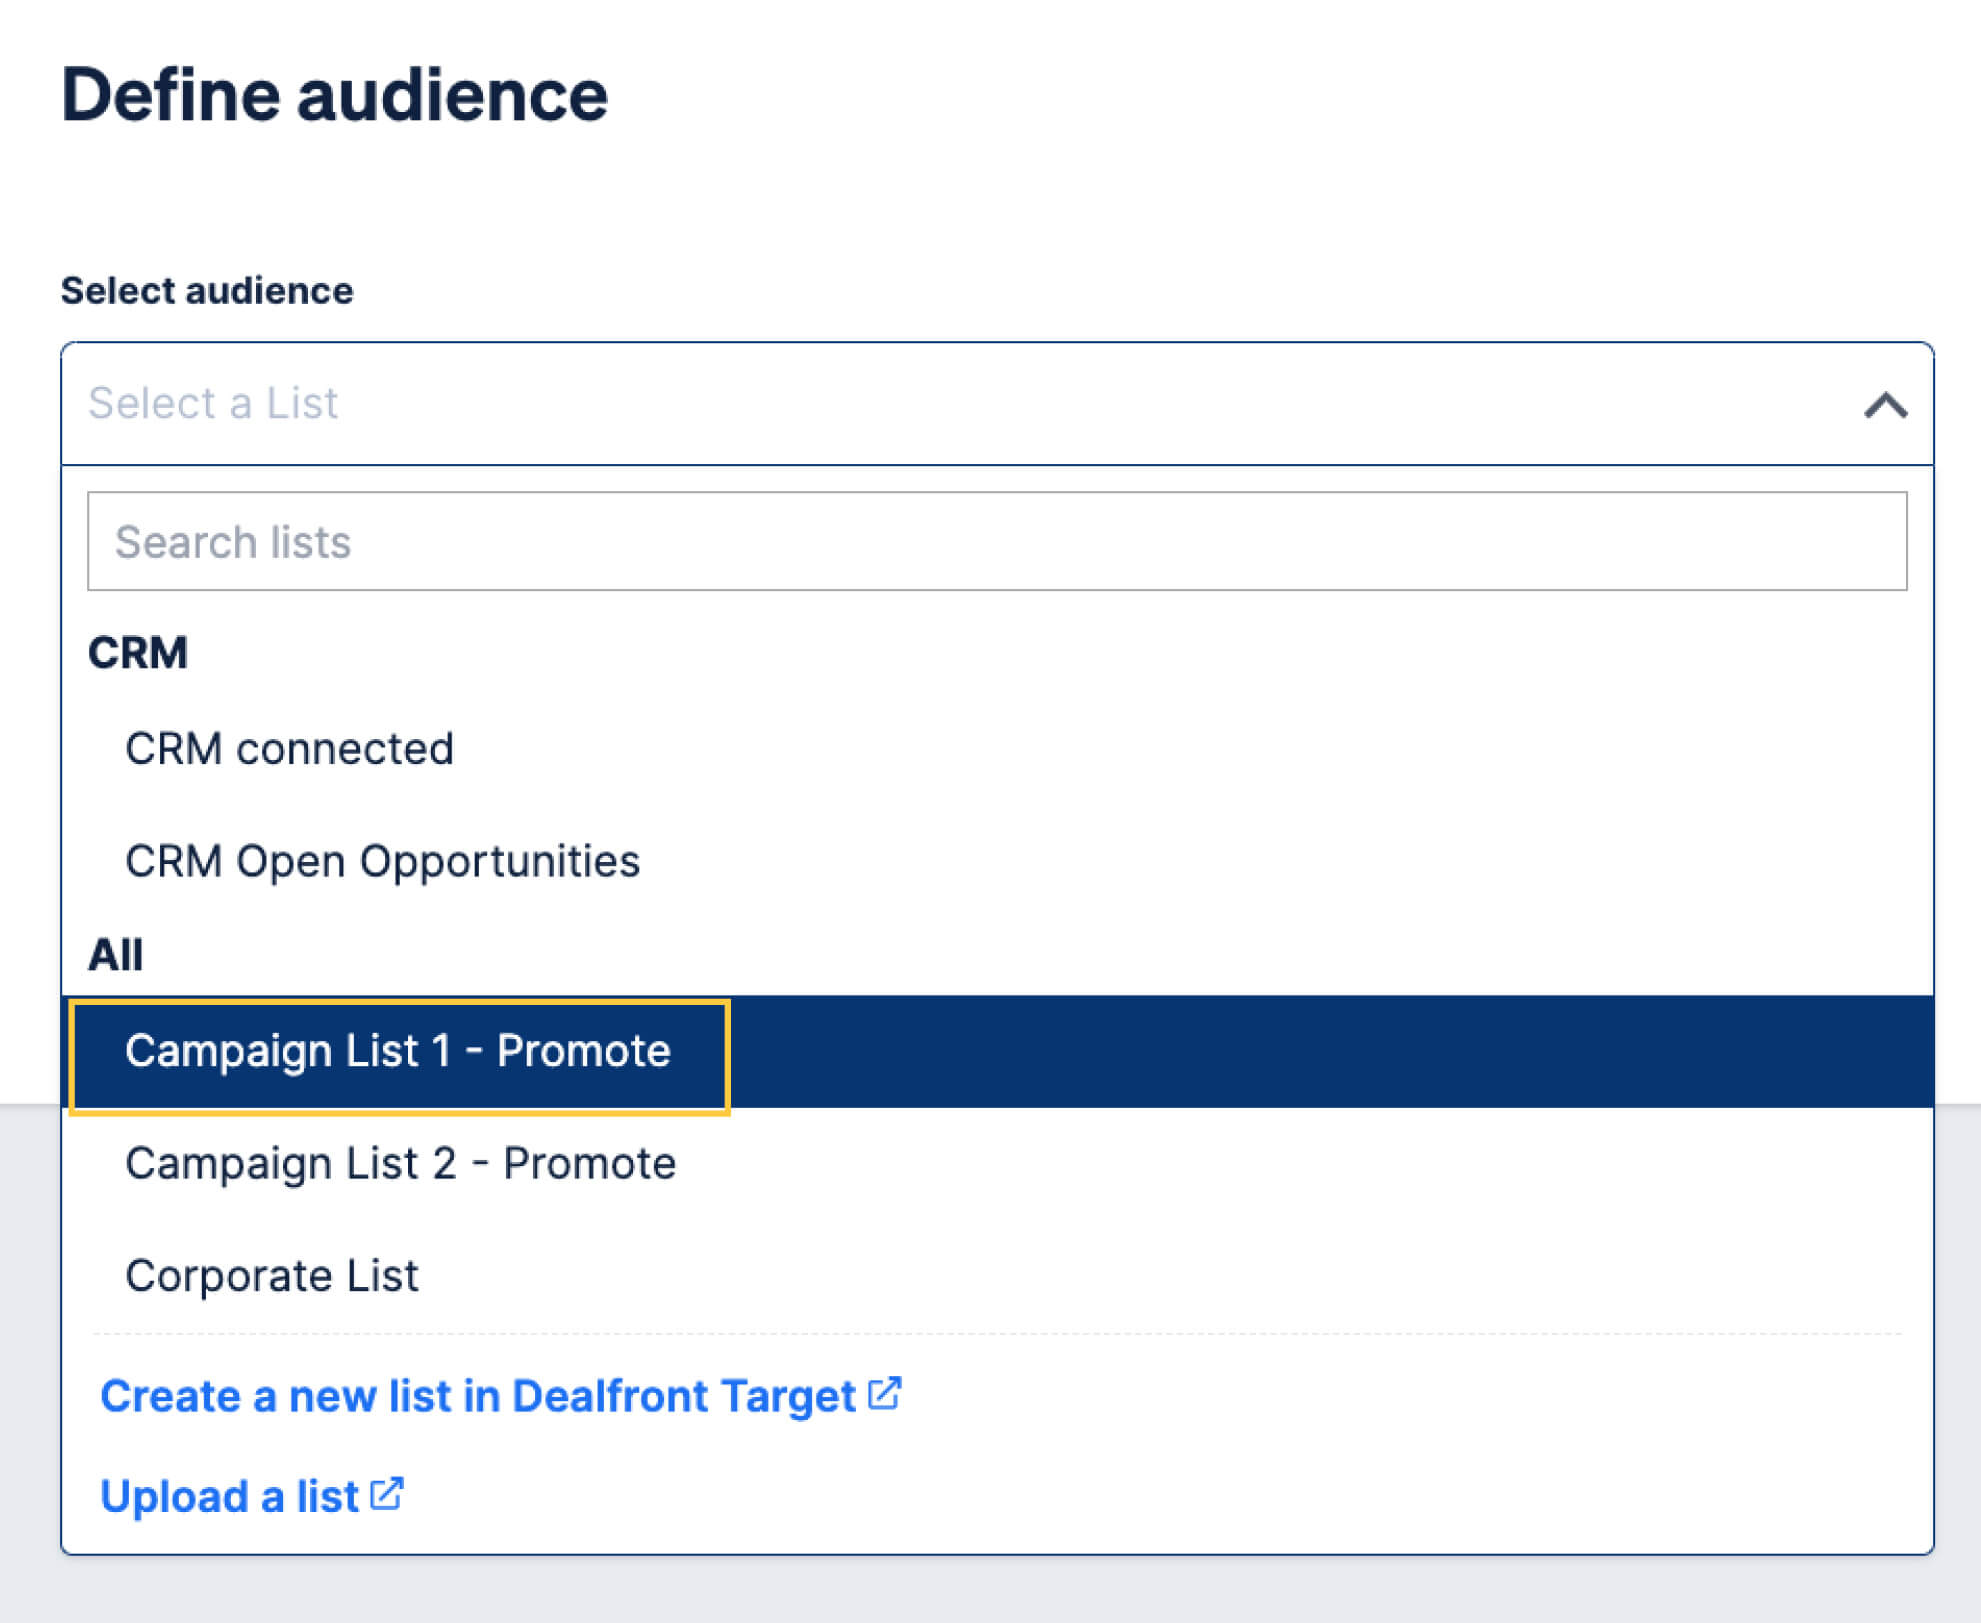
Create a list of your website visitors from Leadfeeder You can create a list from a custom feed in Leadfeeder. Custom feeds help organize your website visitors into groups based on a set of applied filters, such as their online behavior or demographics. Once you have a custom feed of companies you’d like to advertise to, you can add them to a list and use this as your target audience list in Promote.
![Selecting a list in Promote]()
Select your list in Promote
Retarget companies instead of individuals
Traditional retargeting only reaches the individual website visitor, which is great for B2C. However, B2B buying decisions are rarely made by just one person. When you only retarget a single person in an organization, you’re limiting your brand awareness within that company.
With Promote, you can reach out to as many decision makers as possible per company, with the goal of influencing them from start to finish. In this way, you’re using retargeting to both bring visitors back to your website, and boosting your brand awareness by the nature of repetition.
Your Leadfeeder data is a great starting point when finding companies to retarget. A website visit is an initial marker of intent, but you can use custom feeds within Leadfeeder to further qualify these companies who have visited your website down to those with high-intent.
With custom feed filters you can qualify based on companies who have visited certain web pages, visited from a specific location, spent X amount of time on site, watched particular videos, and so much more.
Each company’s qualification criteria is different. You could find a certain blog post or whitepaper has a high conversion rate and want to retarget companies that have visited this page. You could also have a high-converting video, or find that users who fill out a certain form are most likely to accept sales calls. It could be one or many actions taken together that identifies high intent for you.
Once you have your custom feed/s set up and are seeing high-intent companies, you can add these to a list and target them as your audience in Promote.
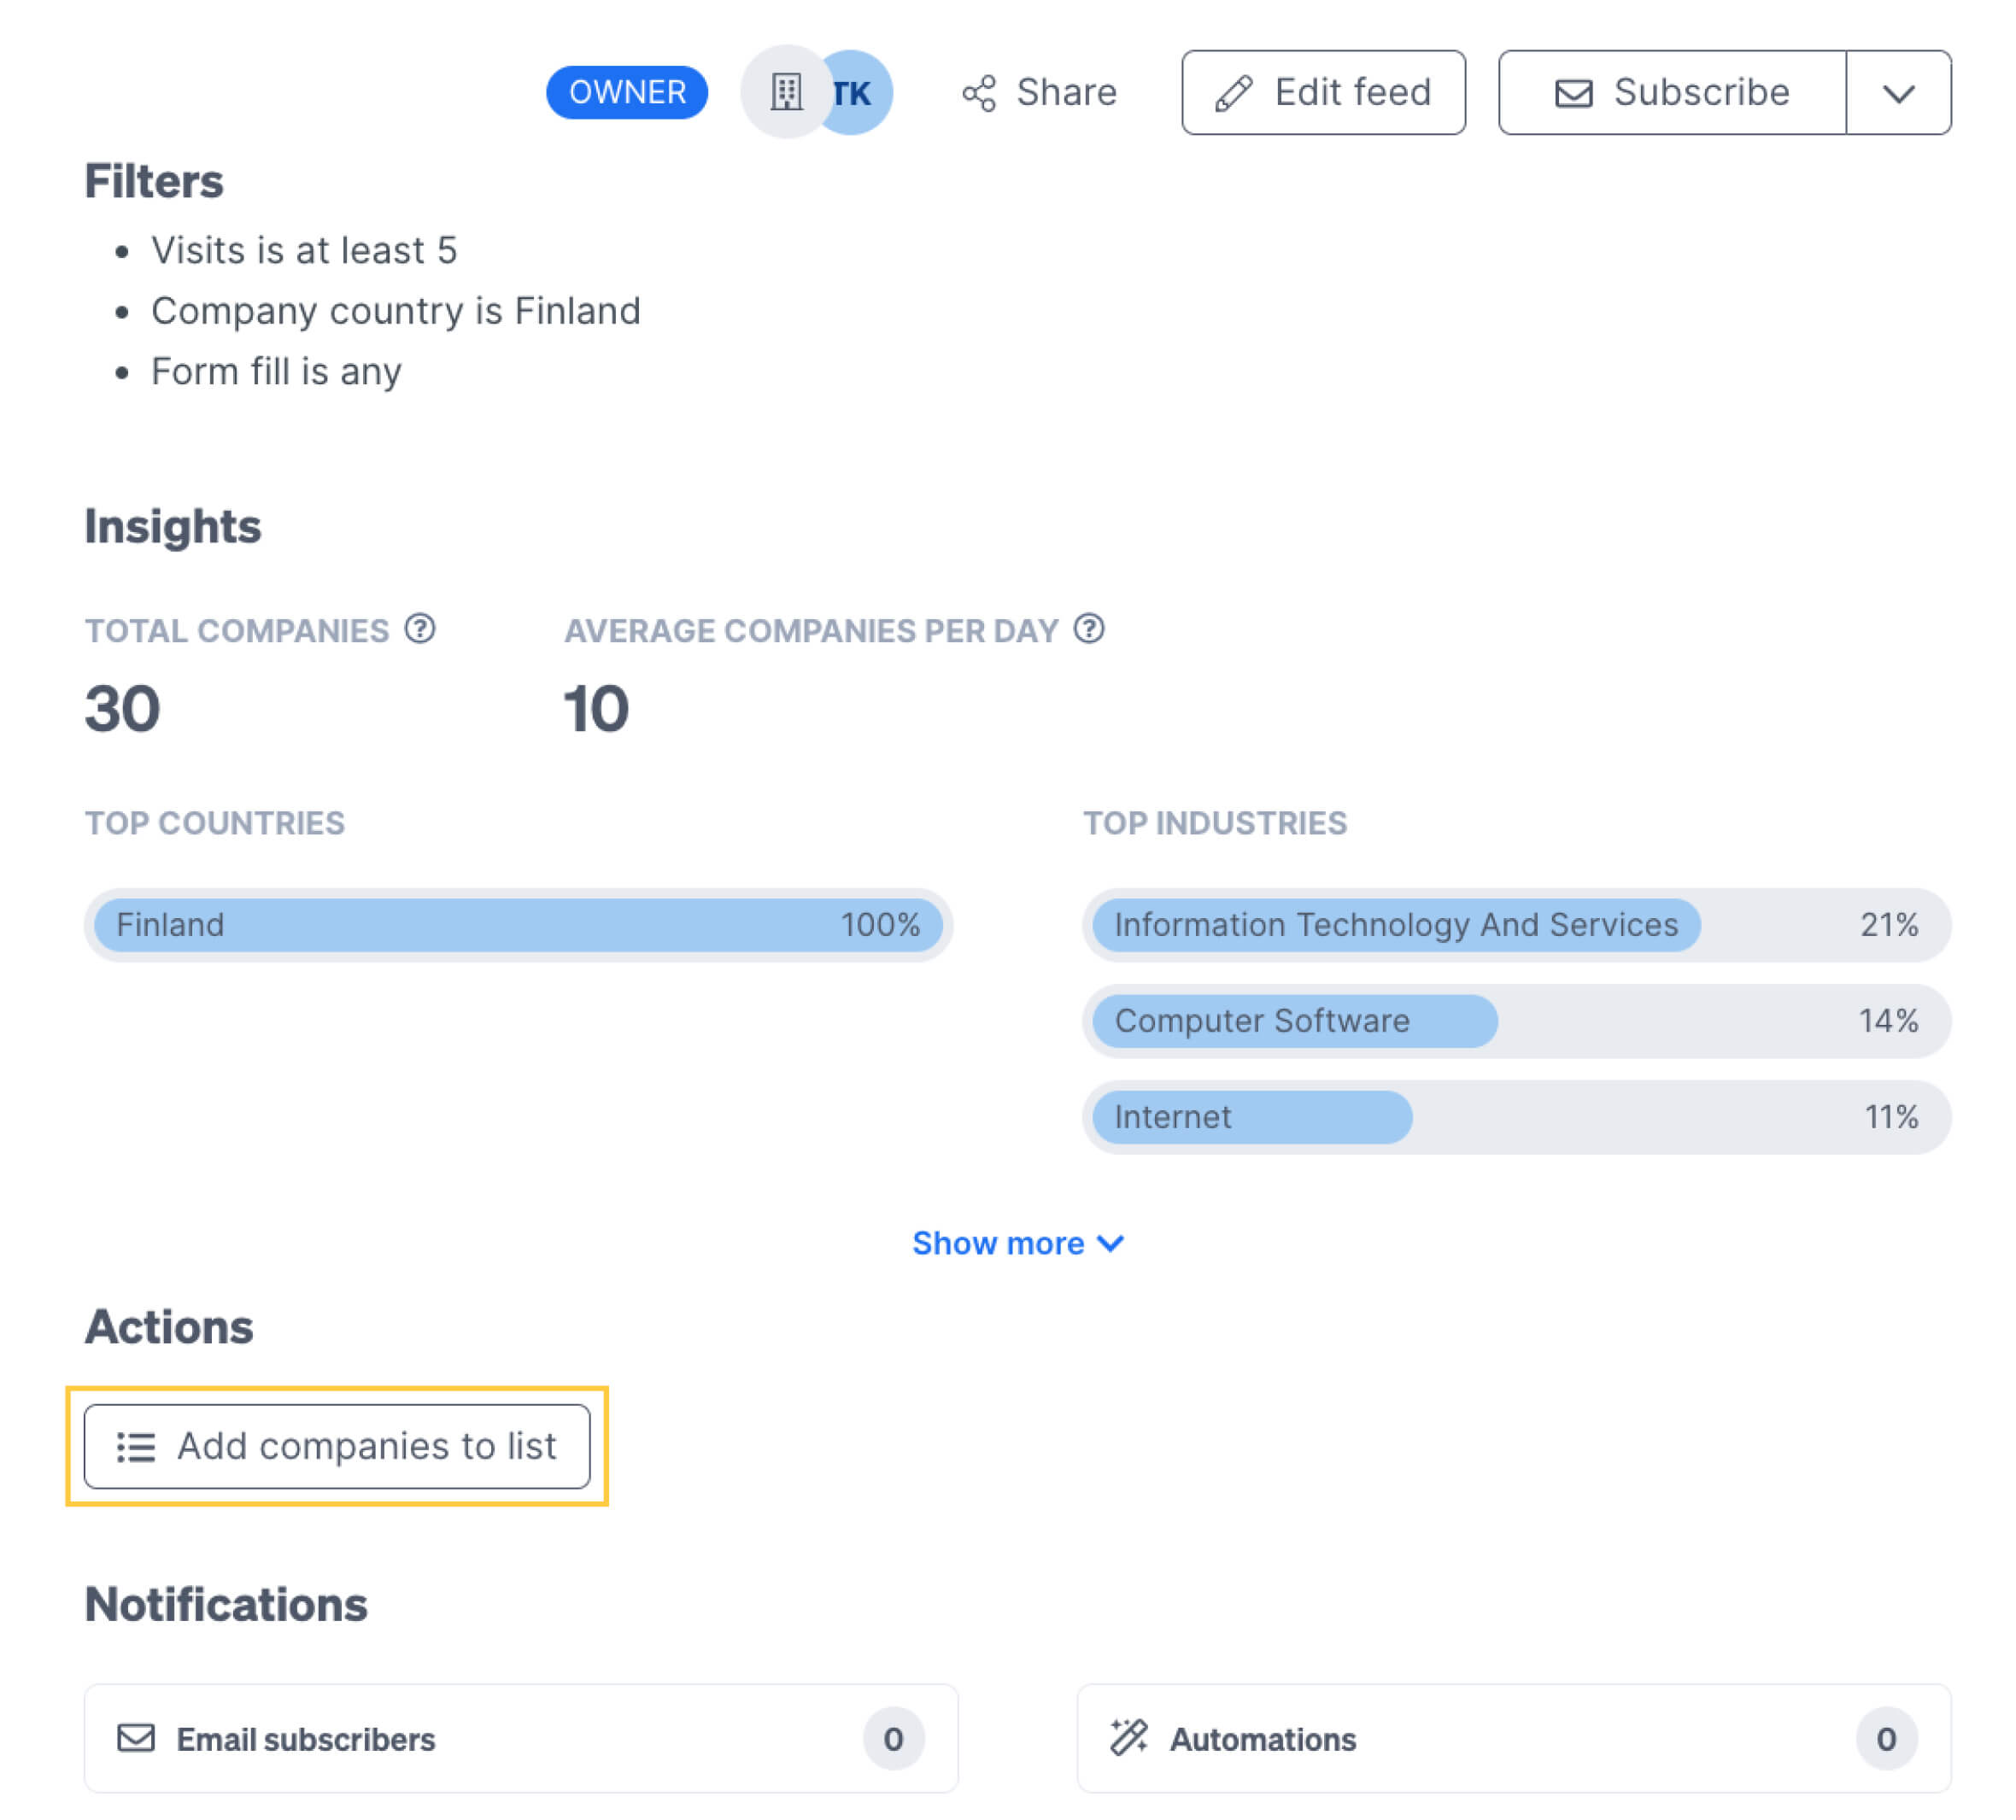
Custom Feed and the Add to List button in Leadfeeder
Automatically target open CRM deals
If your CRM is integrated with Dealfront you have some additional options available to you. Leadfeeder matches identified companies who have visited your website to those in your CRM. The tool then creates automatic feeds of this data.
You’ll be able to retarget companies that are either currently connected to your CRM (of any status), or companies that are marked as Open Opportunities. This feature enables you to show your display advertising to the same companies your sales teams are pursuing. You’ll be one step closer to achieving the dream of your sales and marketing teams working together to convert more prospects into customers!
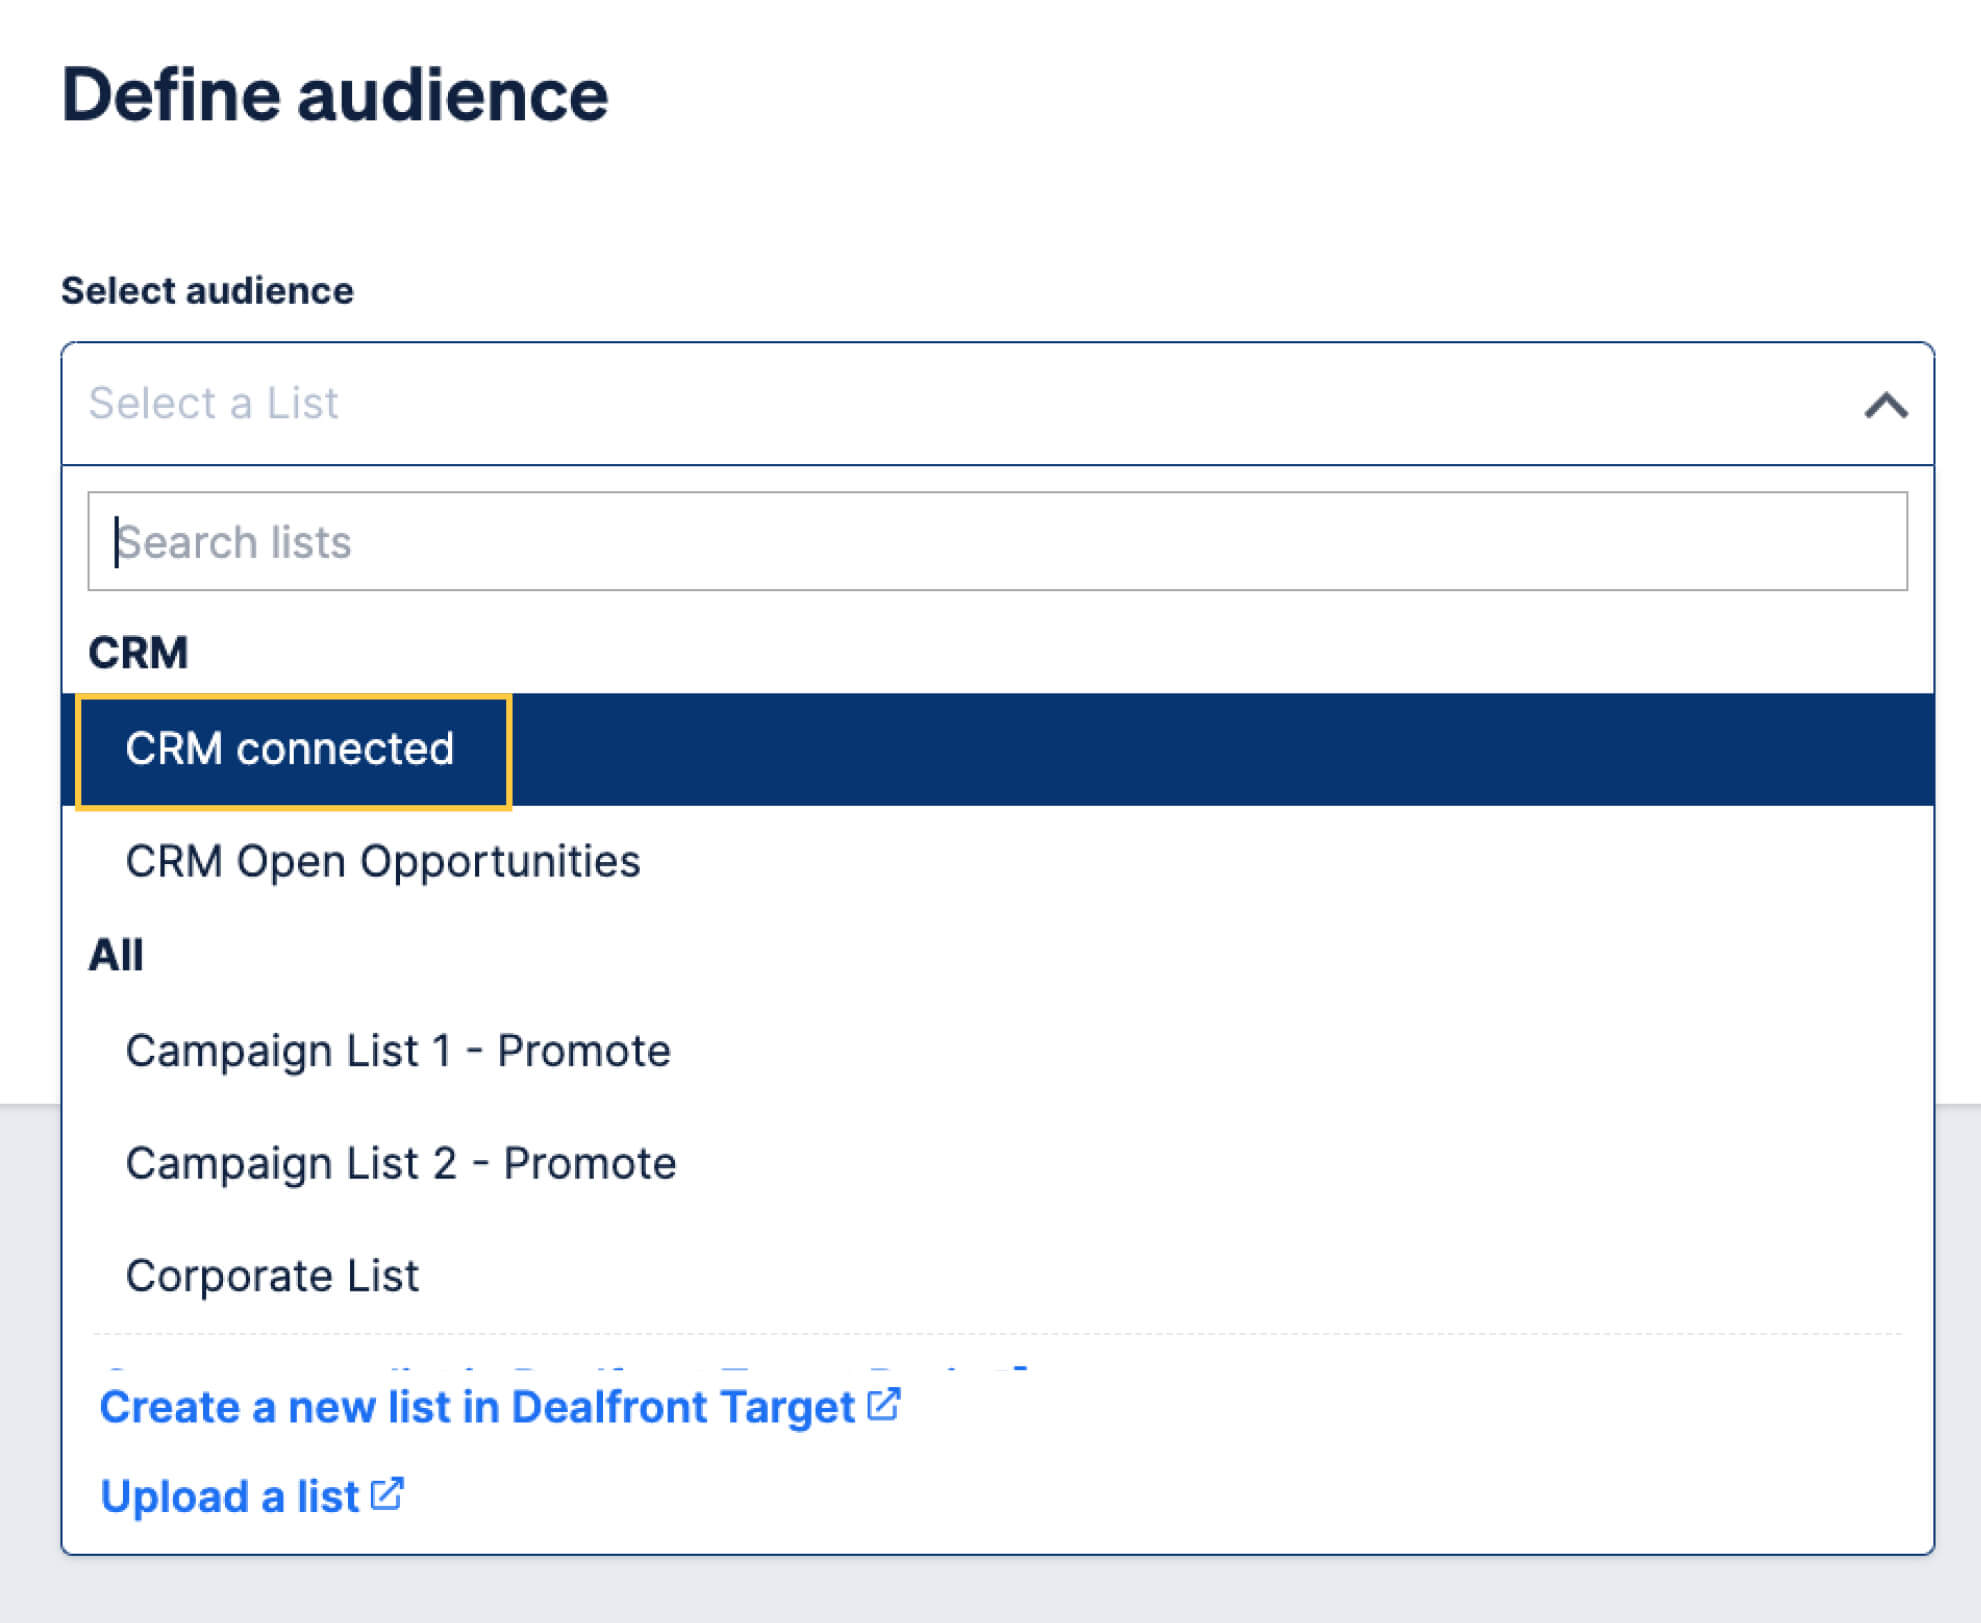
CRM options in Promote
How to Set Up a Promote Campaign
Setting up a Promote campaign is deliberately simple. Once you have your target audience ready it takes only a few short steps to get your campaign ready to launch. Here’s how…
Campaign Set Up Steps
Step 1: Create a campaign
Open Promote and hit the Create Campaign button.
Step 2: Define your audience
Use the drop down to select your audience. This could be any one of the methods mentioned above: an ICP list, your Leadfeeder data or opportunities within your CRM.
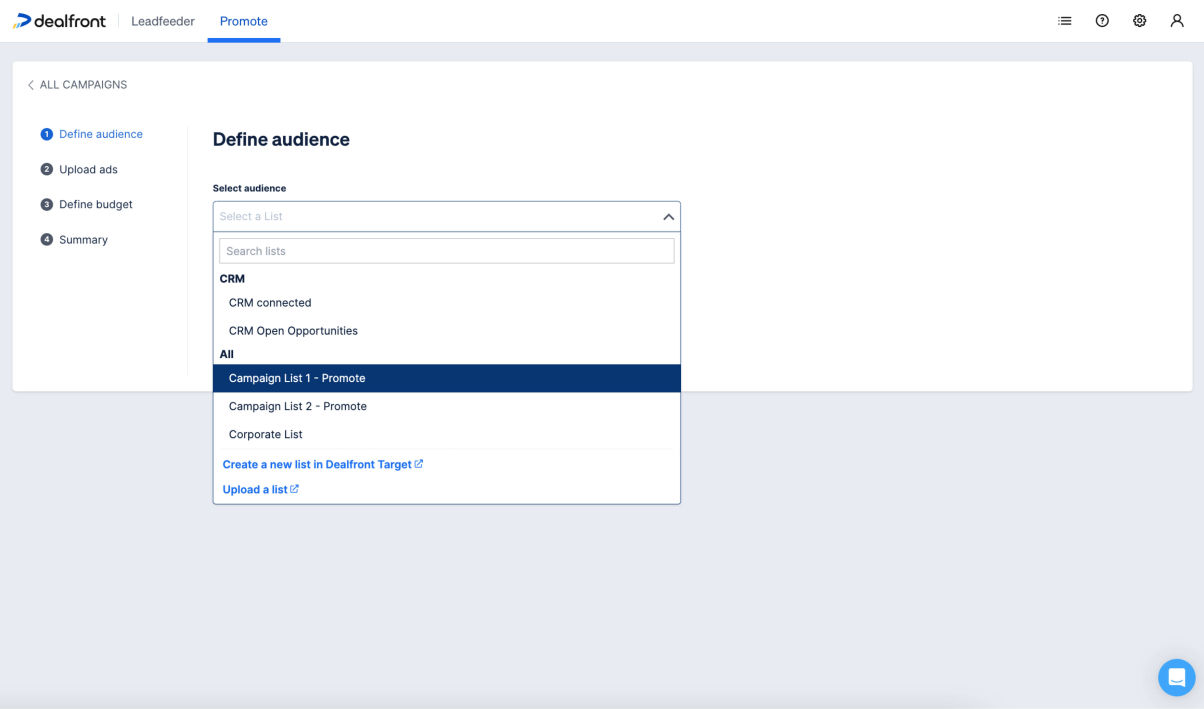
How to select your list in Promote
As part of defining your audience, you also need to select the location you wish to target, choosing from: Global, a Region (e.g. EMEA) or a Country.
Step 3: Upload your ads
Choose the images you wish to use as your display ads; we have some standard ad sizes you’ll need to adhere to when designing these. Then pick a Target URL; we recommend using UTM parameters to track your ads, so we’ve provided a UTM builder.

An example of ads uploaded as well as the UTM builder
Step 4: Define your budget and campaign dates
Set your campaign budget and choose whether this is a daily or total budget. Then choose your campaign start and end dates.
Step 5: Name your campaign and check the summary
The last setup step is to choose a suitable name for your campaign and check the summary. If anything isn’t quite as you’d like you can edit any of these parameters before you click Finish.

An overview of your campaign summary in Promote
On the campaign overview, when you're ready, click Start Campaign to go live.

The ‘Start Campaign’ button for when you’re ready to go with your campaign in Promote
Step 6 (optional): Define the bid priority of your target companies
You can set the bid priority for each account on your Target Companies list. Depending on the priority level selected (low/medium/high), the system will automatically adapt the bidding strategy for that company.
This is useful if, for example, you have companies on your list who are worth nurturing, but not showing strong engagement signals. Here, you’d change the bid priority to 'Low'. Every company is set to ‘Medium’ by default.
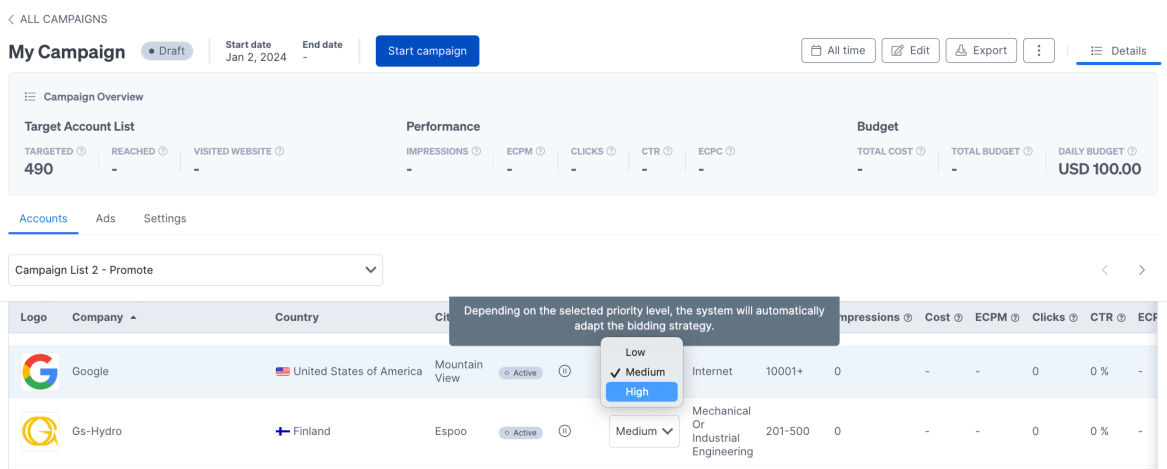
How to change the bid priority in your Promote campaign
Step 7: Pick your brand safety settings
To maintain the integrity of your brand, you can select to not have your ads shown on the websites of certain types of companies. Once your campaign is ready to launch you will see an additional tab for ‘Settings’. By toggling the brand safety feature to ‘on’ this will prevent your ads from appearing on websites associated with adult content, tobacco and other sensitive categories.

How Promote Analytics works
Once your ads are live you need to know if they're working. Are they bringing valuable leads back to your website (or whatever result you were specifically hoping for)?
Promote has a comprehensive set of metrics you can view both while a campaign is running and once it’s complete.
With Promote, per campaign, you can analyze:
Number of: Companies Targeted | Companies Reached | Companies Who Visited Website
Effective Cost Per Thousand Impressions | Impressions | Clicks | Click Through Rate | Cost Per Click
Another key feature of the Promote analytics is the ability to view metrics on a per company and per ad basis. This highly granular data helps you to track the performance of your campaign.

Per Ad view in Promote
Why Your Company Should Choose Promote for B2B Advertising
Display ads let you showcase your products or services in a wide variety of formats. They can also give you the potential to reach users on billions of websites across the globe.
Success with display advertising comes from targeting the right user at the right time. Promote can help you do this in four key ways:
Ad spend optimization
Promote can precisely target your chosen companies and serve your ads to them while they are working.
IP-based account targeting
There’s no need for cookies with Promote. We target company IP addresses, showing your ads to the employees of those companies, even if they are working remotely.
Account-level tracking
Your Promote dashboard instantly shows you which companies were exposed to your campaigns. We’ll also automatically set up a custom feed per campaign in Leadfeeder, so you can follow what they did if they clicked through.
Far-reaching inventory
Promote is set up to enable you to access billions of available impressions on websites all over the world.
“It was hugely encouraging to see the conversion rate on the campaigns. 70% of target companies that saw a Promote ad converted into a website visit. This supports our ABM strategy by driving our most desirable prospects further down the funnel.”
Mary Gage, Digital Marketing Specialist at Enterprise Health
Start Supercharging Your Leadfeeder Data Today
Today, you’ve discovered how valuable the high-intent web visitor data within Leadfeeder can be, and how to supercharge this with Promote’s display advertising campaigns. With more precise targeting thanks to more data insights into your ICPs, all that’s left is to try it for yourself!
If you’re already a Leadfeeder user, start exploring Promote, and set up your first campaign today. You can find extra setup guides and resources in our Promote Help Center Collection.
If you’re not a Leadfeeder user, sign up for a free 14 day trial and start revealing the otherwise anonymous companies visiting your website. You’ll find everything you need to know about getting started with Leadfeeder in our dedicated Help Center Collection.
Stop wasting your budget on low value impressions, and start putting your time to better use and with Leadfeeder by Dealfront and Promote.
Retarget your hot prospects with Promote
Discover how to identify the key companies visiting your website and retarget them with display advertising, even if they’re working remotely.

