Custom Feed Introduction: How to Create & Edit It
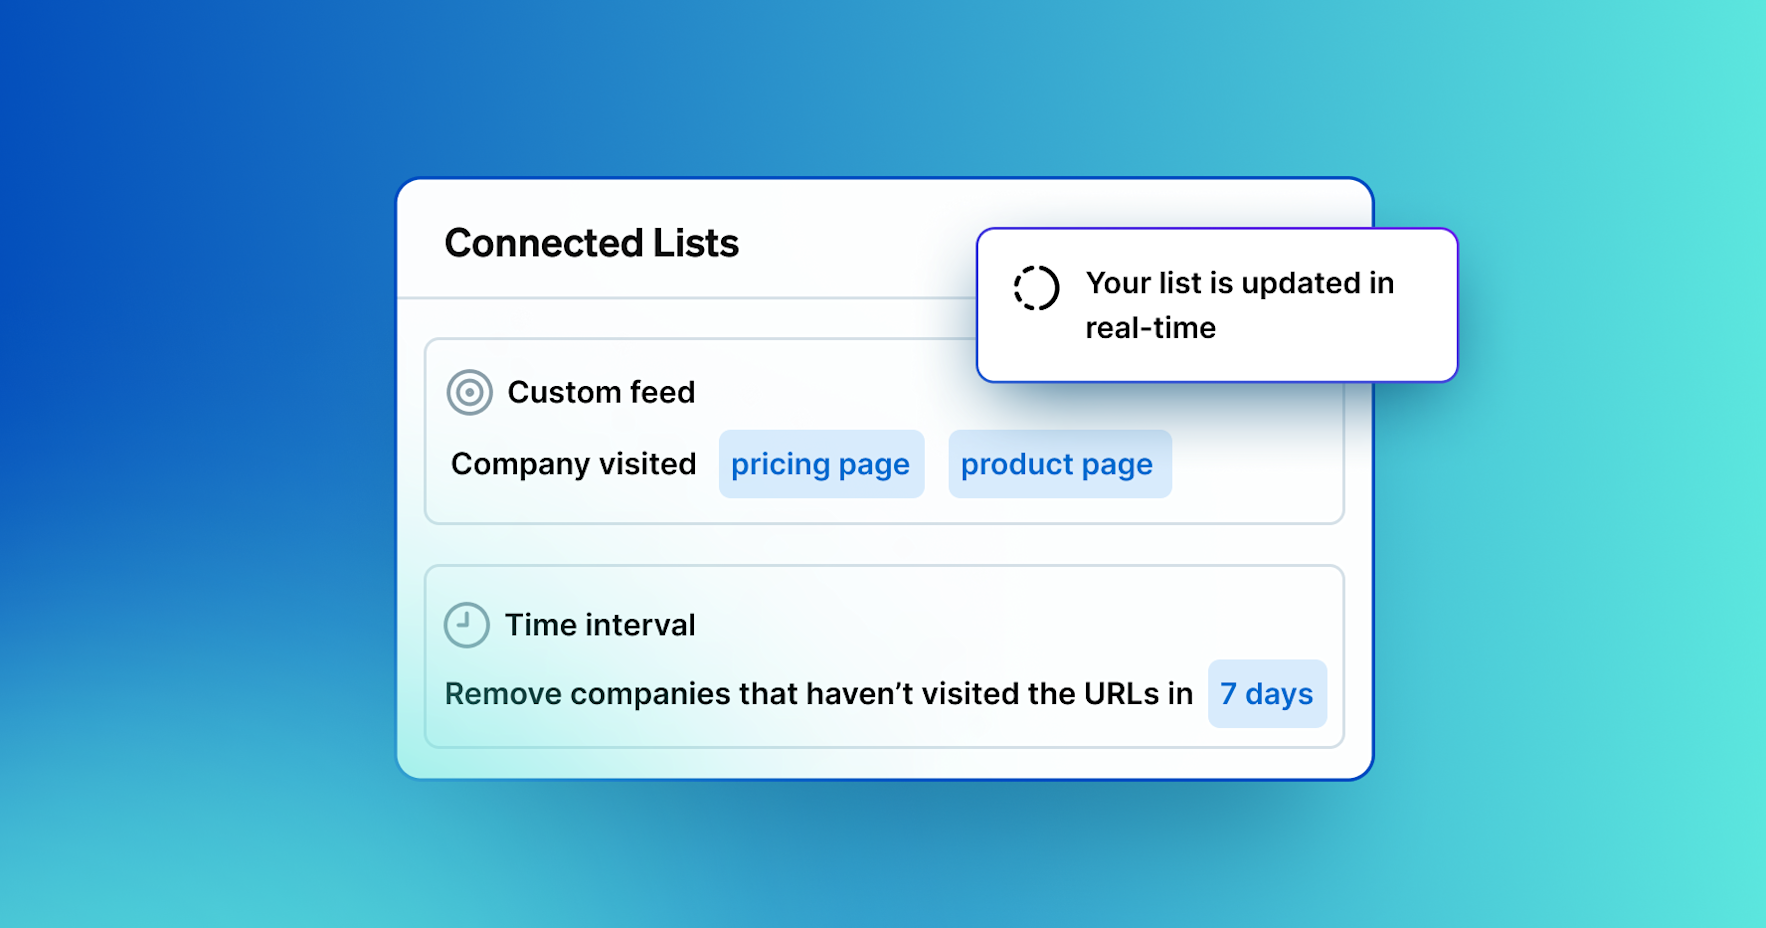
Custom feeds in Leadfeeder allow users to create customized segmentation of site visitors based on their online behavior, demographics, or other essential data.
If you love data, this is going to be your favorite feature.
Video Transcript
Custom feeds in Leadfeeder let you create tailored segmentations of your site visitors, based on their behavior, demographics, and other key data. If you're a data enthusiast, this might just become your favorite feature.
Imagine you have two sales teams—one in Germany, and one in England. Your German team can create a custom feed to target only German-based companies, while your English team can focus on companies in the U.K.
Here’s why this feature is so valuable—your site might attract all sorts of visitors, from job seekers to international blog readers. But what if your business is only interested in companies from certain industries and locations? Custom feeds let you filter out the noise, narrowing in on the most relevant companies for your market.
In Leadfeeder, there are six main filter types you can combine to create a powerful custom feed that showcases buyer intent. Let's break these down:
Behavior: Filter by actions visitors took on your website, like the number of pages they viewed.
Acquisition: Understand how visitors arrived, like from a campaign or social media.
Company Info: Drill down by details such as company location, industry, size, or language.
Dealfront Activities: Track visitors assigned to a Dealfront user or those shared via Slack or email.
CRM Activities: If you've integrated Dealfront with your CRM, create feeds based on their stage or status in your pipeline.
Email Marketing Integrations: Track visits from your email campaigns if you're using platforms like Mailchimp or ActiveCampaign.
By using custom feeds, you can refine your data to surface only the most valuable leads, helping your sales teams focus on the right opportunities.
Ready to try custom feeds in Leadfeeder? Start filtering your way to smarter sales strategies today. Allow me to show you how to create and edit a feed.
Click on "Create Custom Feed" above your existing feeds. Give your feed a name. You can also choose to place it in a folder for better organization.
You'll notice two options checked by default. The first sends you weekly email updates about new companies identified in the feed. The second shares this feed with everyone in your account. We'll explain how to customize notifications and sharing later.
Now, let’s select filters. In this example, we’ll use "Page URL" to filter visitors based on specific pages they visited.
Customize your filter by typing the URL you want to track. Leadfeeder suggests URLs from the last 30 days as you type. If you enter a new URL, just hit "Enter" after typing it.
Once you’re happy with the Page URL setting, click "Add" and then "Save Feed."
When setting up or editing custom feeds with multiple filters, remember this logic: within a filter, we use "OR," and between different filters, we use "AND."
For example, if you filter domains containing "lead," "feed," or "app," the feed will pull companies that visited any page with those terms. If you add another filter, like "location" set to "France," the feed will pull companies that visited those domains **and** came from France.
Now, let’s set email notifications. If you kept the default box checked, you’ll receive weekly updates. You can add other team members to the email list and choose to receive daily notifications instead.
Want to automate actions? Head to the "Automation" tab. Here, you can set actions like tagging companies or adding companies to your CRM when they visit your site. Choose the action and frequency. If you don’t want automation, simply click "Save Feed."
The CRM option is only available if your CRM is integrated with Leadfeeder.
By default, the feed is public and shared with all account users. If you prefer, you can make the feed private or share it with specific users. You can manage permissions by setting users as an Owner, Editor, or Viewer.
Finally, click "Save Feed" to save your custom feed. To go back to the list of feeds, click "X" in the upper right corner.
To edit an existing feed, select it from the list and click "Edit Feed" on the right. You can change filters, rename the feed, or adjust notification settings. To delete or duplicate the feed, click the "Cog" symbol at the bottom.
Remember, the same logic applies when editing feeds: use "OR" within single filters and "AND" between different filters.
And that’s it! You’ve just created and customized your own Leadfeeder feed. Start using custom feeds today to get more control over your leads and drive smarter decisions.


